Initial configuration
Our platform is installed and therefore available to start setting up all needed to assemble our Contact Center operation. In this section we are going to move on with the initial steps like create our first supervisor user, generate agent groups and their pauses, to finally conclude the chapter with an agent login.
Instance registry
This is not mandatory, the system will work without registration. Anyway is mandatory to register the instance if you want to buy an Addon or subscribe the platform the Freetech Solutions support.
Finnaly, for that certified partners (with official OMniLeads certification done), by registrying the instance the installation is signed with the certification code that shows that the instance was installed by a certified person.
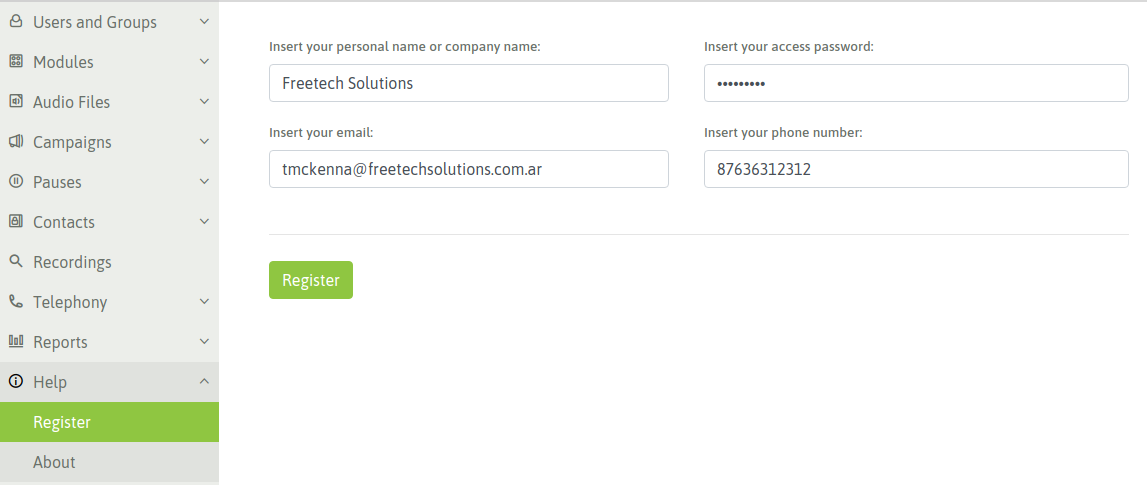
Figure 1: omnileads registration
The fields here must be filled after that you will receive an email with the instance key

Figure 2: Email notification
After that, every time you go to Register section you will see this.
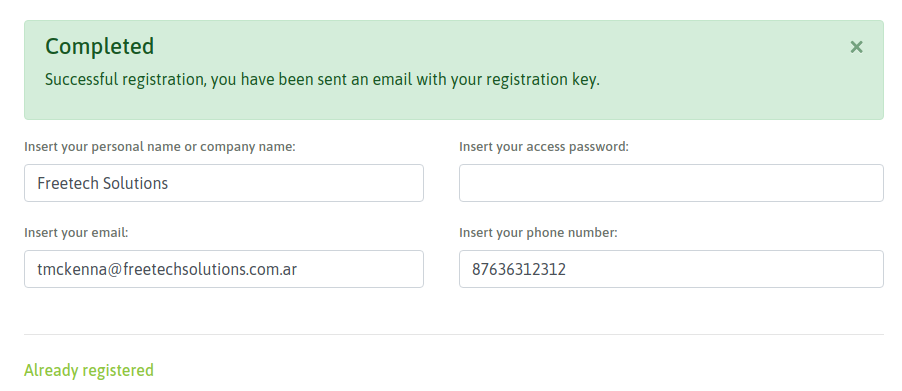
Figure 3: omnileads registered
Create supervisor user
The first thing we are going to do is generate a supervisor user with whom from now on we are going to do all the administrative tasks of the system, leaving the “admin” user relegated as a last access resourse and for the IT staff.
To generate a new user we must access the menu point User list -> New user
There we complete the requested fields as illustrated in the figure 1.
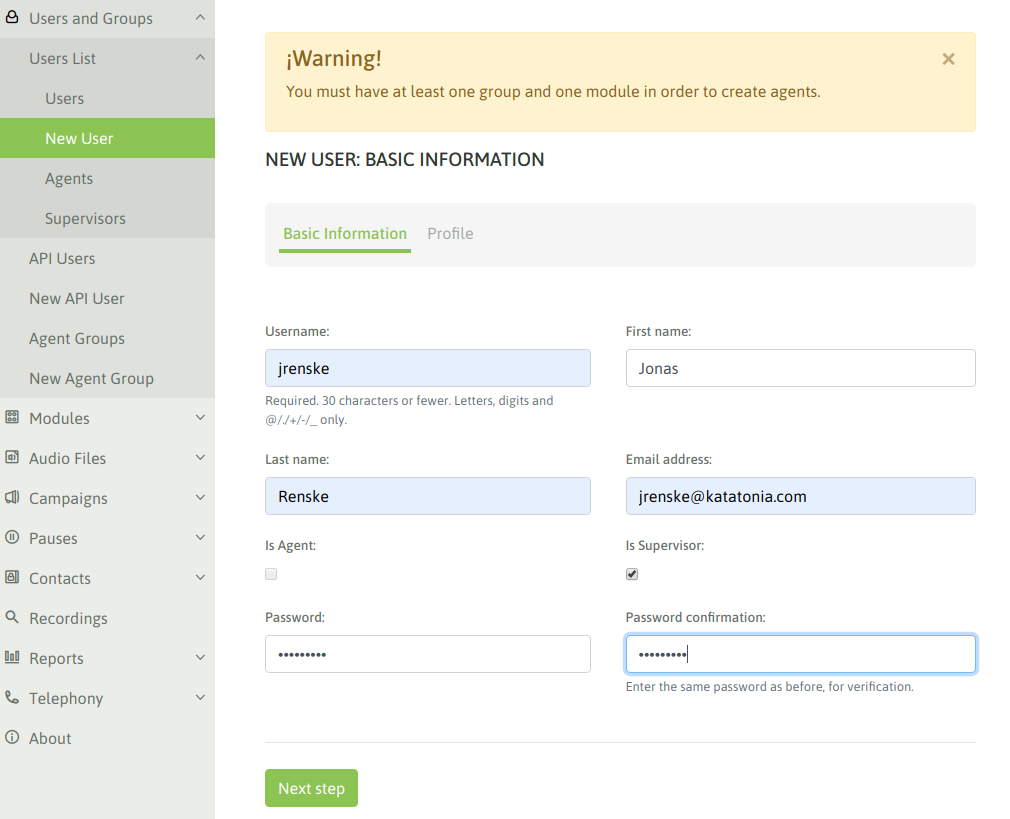
Figure 4: new supervisor user
In the next step of the wizard we must select the supervisor profile, being possible to select:
- Supervisor manager: this user profile can manage almost all the platform menus except for the configurations of telephony parameters like for example SIP trunks and calls routing.
- Administrator: is a super-user who owns the same permissions than the “admin” user
- Customer: is a profile that can only access to the real time supervision and call recordings about the campaings that were assigned as allowed.
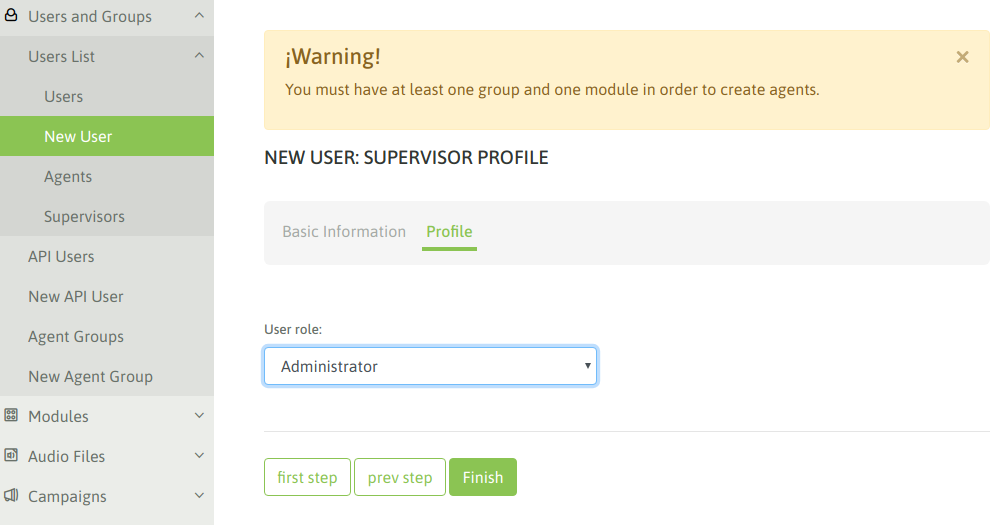
Figure 5: supervisor / admin
In our case we generate a supervisor / administrator user. Then we log in with that user to continue the managements.
Create telephony module
In this point each system module must be generated, telephony functionality is currently available, so we are going to add that module. However towards the future SMS and Chat would be added
To generate the telephony module we must access to Modules -> Enable module
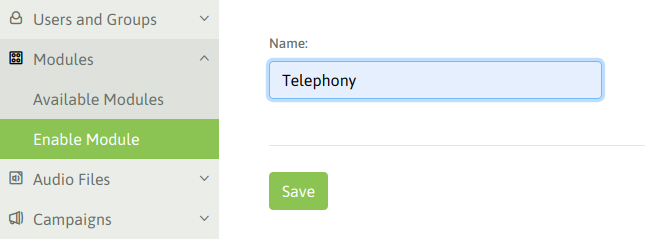
Figure 6: Enable telephony module
We save the changes and move on !
Extra language installation
The generic audios that the agents or external phones will hear will be in English language, these audios are configurable in the inbound or outbound routes, so that way the channel will handle the language especified in its configuration.
If the instance needs other languages, you can install the package of audios with the “Telephony-Add audio files” menu, where you can install these languages:
- Spanish
- Italian
- Swedish
- Portuguese
- French
- Russian
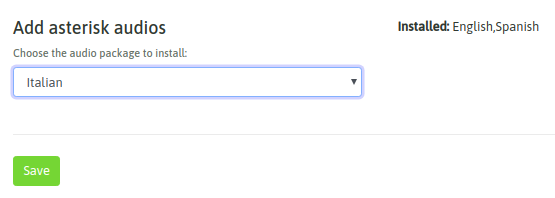
Figure 7: i18n audio promps
Create agents group
It is time to create the agents groups of our contact center. To generate a new group Users and groups -> New agents group and a form similar to the one in Figure 4 will be displayed.
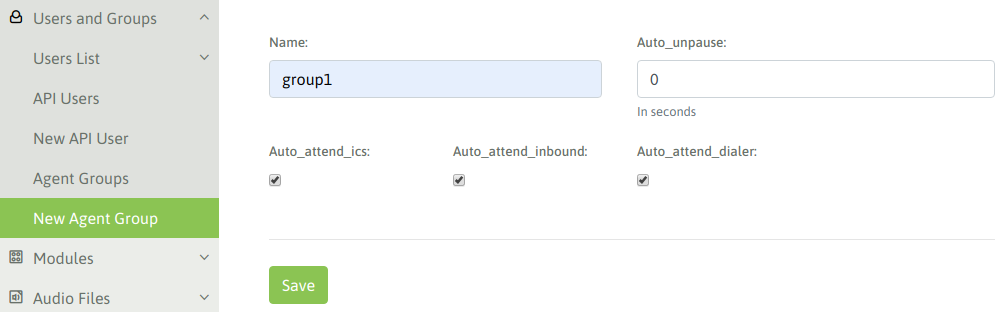
Figure 8: New agent group
The fields displayed there are:
- **Name:* is the name desired to assign to the agents group.
- Auto_unpause: to understand this parameter we must explain that in OMniLeads after every call processed by an agent (of any nature), the agent is forced to enter an ACW pause (after call work), in which remains inactive for the assigned campaings so he can complete the qualification of the current call and continue operating. Now, to get out of this pause induced by the system there are two possibilities and there our parameter enters, since on the one hand if we leave the value in “0” the agent must get out of the pause, now if we put a number (for example 5 seconds), this implies that the assigned agent to this group after falling into an induced pause ACW, the system will leave it online again after X seconds (as indicated in this parameter).
- Auto_attend_ics: if this value is checked then the calls coming from the OMniLeads ICS (Interactive Contact System) Addon, calls derived from the IVR blaster press-one will be automatically answered by the agent without providing the possibility of a ring on his webphone.
- Auto_attend_inbound: if this value is checked then the calls coming from incoming campaigns will be connected to the agent without providing the possibility of a ring and answer by the agent.
- Auto_attend_dialer: if this value is checked then the calls coming from campaigns with predictive dialer will be conected to the agent without providing the possibility of a ring and answer by the agent.
Create agents
Once the agents groups and their configuration are available, we can proceed with the creation of contact center agents.
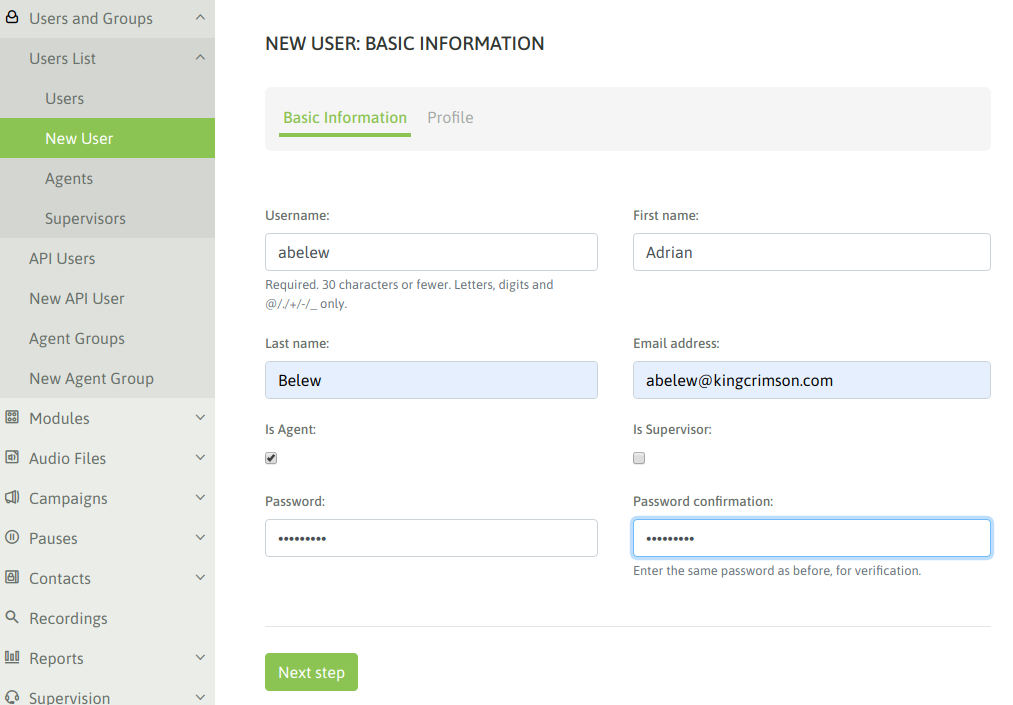
Figure 9: New agent
The agents group and available modules must be selected for our new agent.
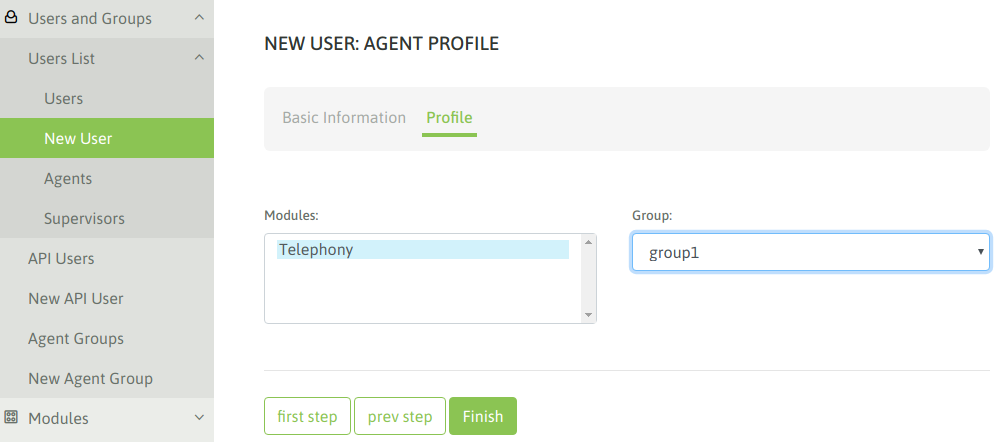
Figure 10: New agent
We can list our users, we should have at least a couple of agents.
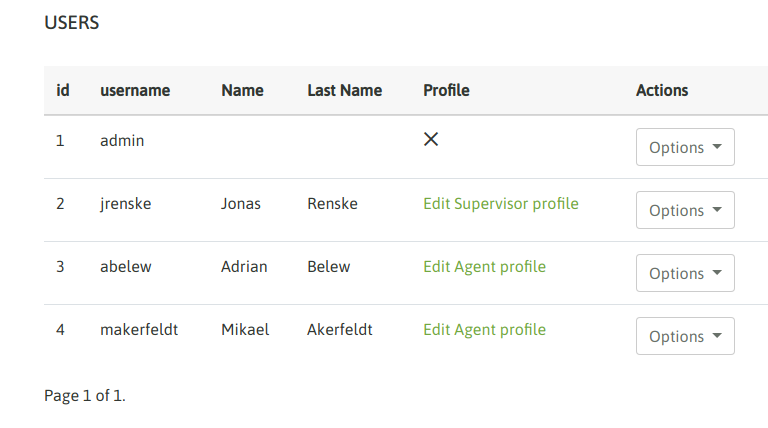
Figure 11: Users
Create agent pauses
The agents can enter a pause whenever they want to be unavailable for the call processing, this prevents that an incoming or dialed campaign assigns a new call. Also pause states are useful for recording productivity and measuring agent session times.
Pauses can be generated by supervisors and are classified as Recreational and Productive pauses.
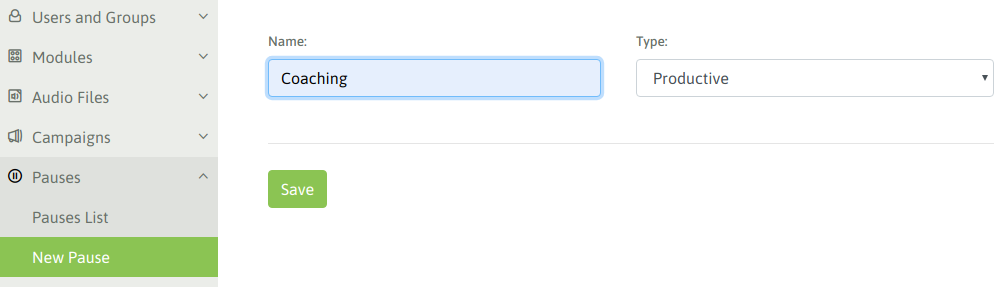
Figure 12: New pause
At the time of presenting the agent sesión reports, the totalized pauses are divided in recreative pauses and productive pauses. This allows measure the productivity of our agents in a more exact way.
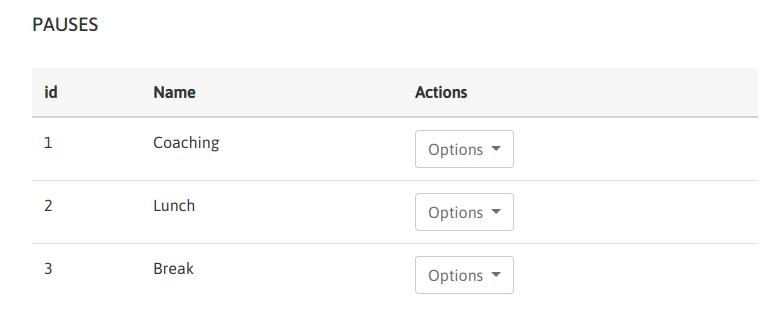
Figure 13: New pauses
Once our agents are generated, we can proceed with our first agent login !
First agent login
Finally we have everything ready to try our first agent.
Important
Tener en cuenta que para obtener un login exitoso debemos debemos contar con un MICROFONO disponible: en la estación de trabajo desde la cual se ha realizado el login de agente. Si no se cumple entonces el login será defectuoso.
Once we access with our agent, if everything goes well we should run into a popup which request the permission to take control of the microphone, ass illustrated in Figure 14.
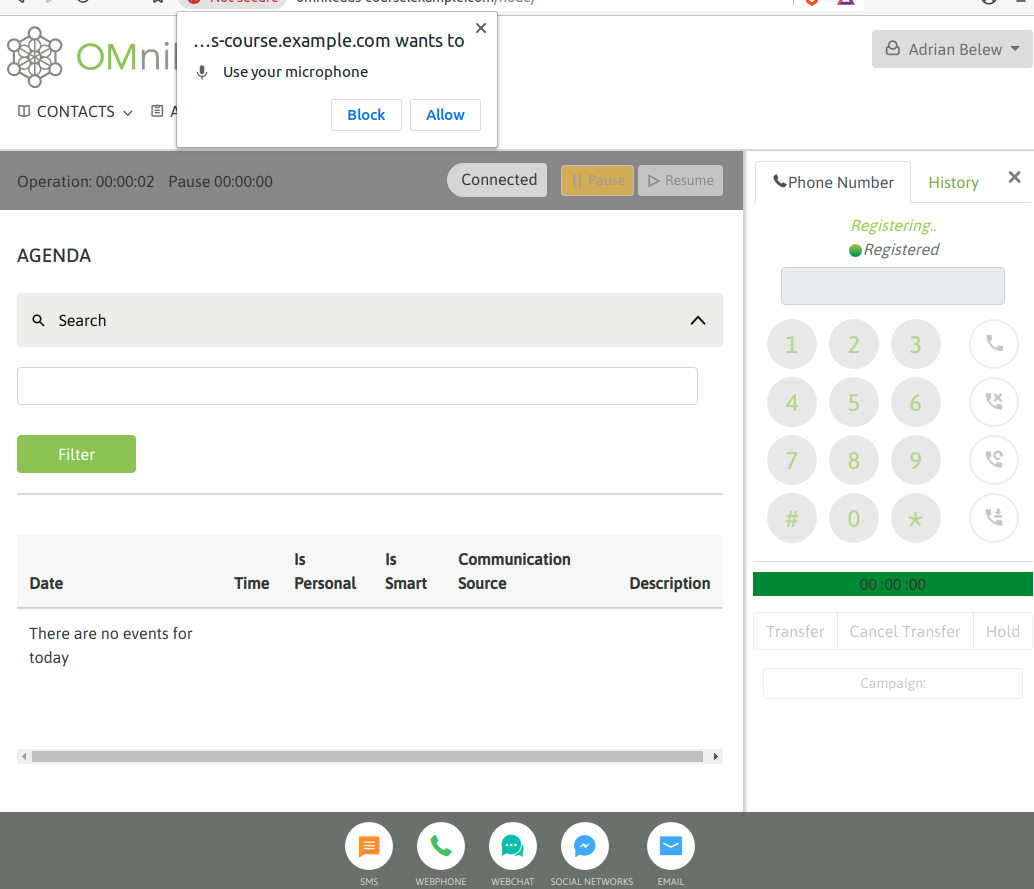
Figure 14: First login - microphone webrtc
When allowing the permission, we should listen to an audio that the system reproduces indicating the successful login and also the agent screen should look like figure 15.
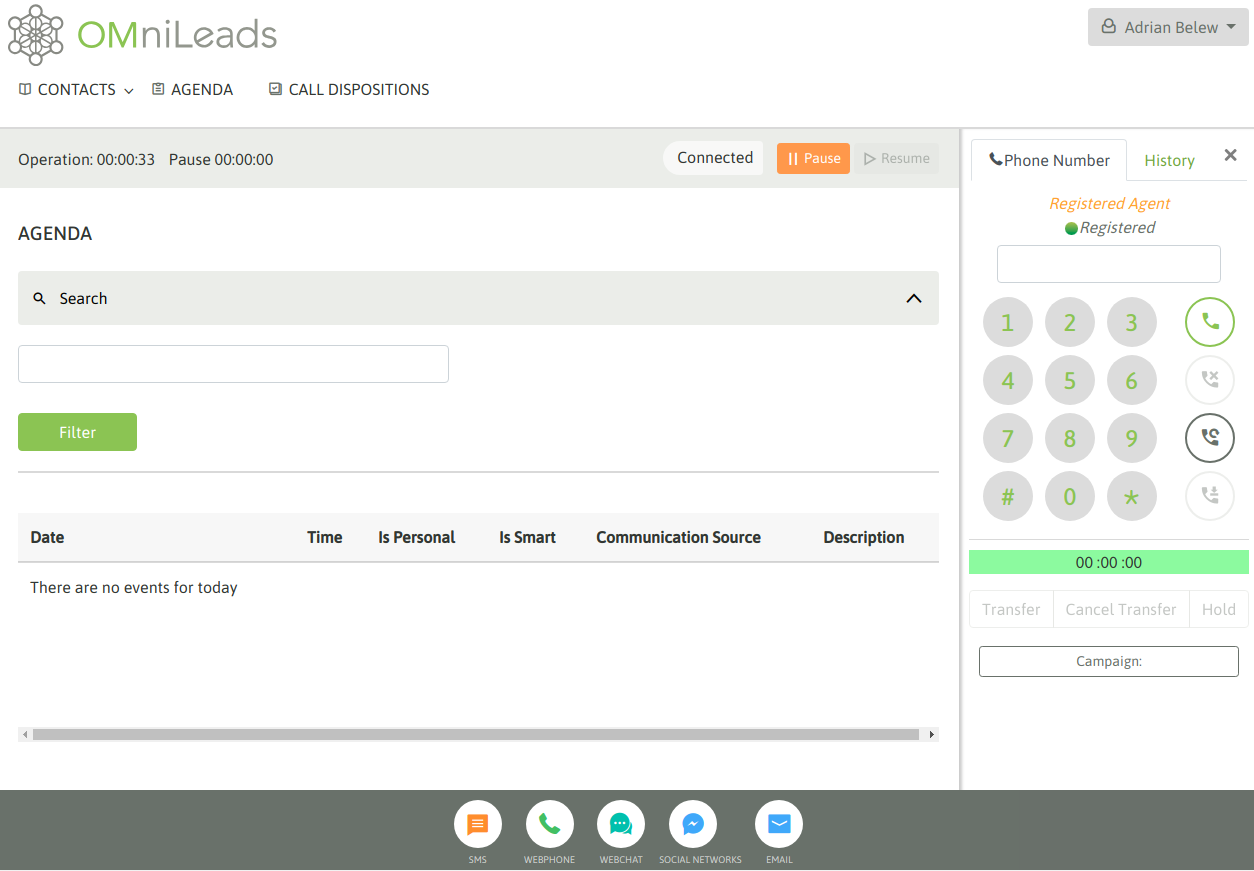
Figure 15: First login - webphone connected