Installation over CentOS7 using Docker
Since version 1.4.0, OMniLeads can be deployed in production using Docker.In this section we cover all required aspects to run the application using this novel “virtualization” techonology over CentOS-7 as underlying operating system.
When executing the installation process available on repository, we proceds with the installation of:
- Docker
- docker-compose
- PostgreSQL
- MySQL
- RTPEngine
These components will be installed and will be execute directly over the base operating system.
For other part the rest of application componens, will be executed as a docker containers
On he following picture is present a representative schema about OMniLeads deployment
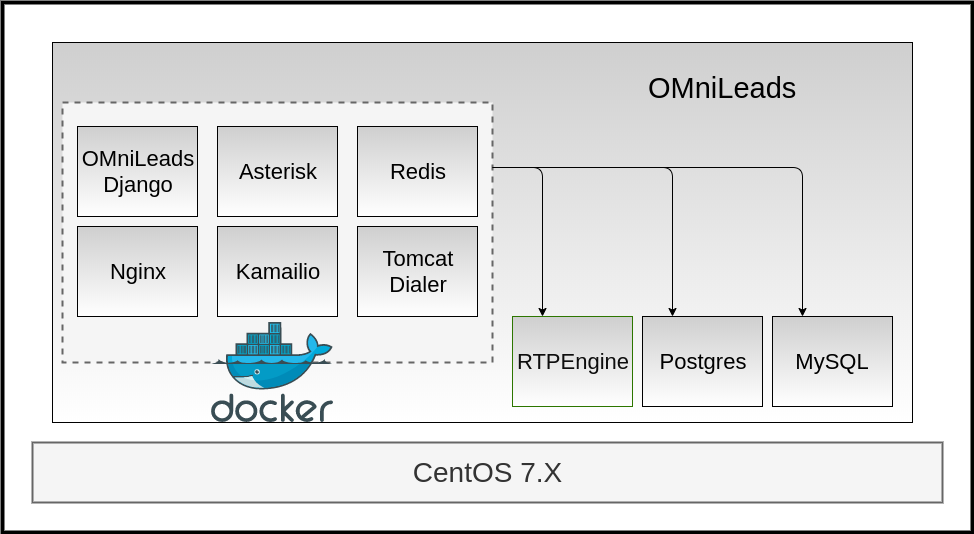
As we can observe the components: Asterisk, Kamailio, Nginx, Wombat Dialer,Redis and OMni-App are executed in containers, while RTPengine, PostgreSQL y MySQLin the operating system base
Installation procedure
As first step we proced with the login to the Linux host for then download the OMniLeadsand once cloned the repository we must go to the relative path; ominicontacto/deploy/docker/prodenv.
yum -y install git kernel-devel kernel-headers
cd /var/tmp
git clone https://gitlab.com/omnileads/ominicontacto.git
cd ominicontacto/deploy/docker/prodenv
yum update -y
reboot
Once we are in the indicated Path, we must edit the file .env in order to associate values to variables used for the OMniLeads deployment
Environment variables .env
In this file we configure environment variables that will be used for the containers
The file is documented with comment, however we are going to cite the main parameters next
The variables DOCKER_HOSTNAME and DOCKER_IP are consistent the IP LAN direction assigned to the main interface of the Linux host
Then whe have the RELEASE that describes the OMniLeads to deploy, the variable*TZ* (Time Zone) and the variable DJANGO_PASS which sets the password for OMniLeads web useradmin
###############################################################################
#                       IP and hostname of the docker host:                   #
#  If you want to use a hostname to connect web OMnileads type your hostname  #
#  If not type the IP address in both variables                               #
###############################################################################
#DOCKER_HOSTNAME=your.hostname.com
#DOCKER_IP=X.X.X.X

#####################
# Omnileads release #
#####################
#RELEASE=release-1.3.4

################################
# Timezone for the environment #
################################
TZ=America/Argentina/Cordoba

##############################
# Password of admin web user #
##############################
#DJANGO_PASS=my_very_strong_pass
We make focus on the variables block related to MySQL, where the variable MYSQL_ROOT_PASS must be edited with the value of the MySQL root user.On CentOS-7 MySQL got without password for localhost connections, in that case uncomment the parameter and left empty (MYSQL_ROOT_PASS=), if you did not generated a root password. Regarding the second parameter to configure, MYSQL_HOST,the host IP LAN direction must be used.
#####################
# MYSQL credentials #
#####################
#MYSQL_ROOT_PASS=my_very_strong_pass
#MYSQL_HOST=X.X.X.X
WOMBAT_DB=wombat
WOMBAT_DB_USER=wombat
WOMBAT_DB_PASS=dials
Finally, the parámetros PGHOST must be filled with the host IP LAN and PGPASSWORD is the omnileads user password on the PostgreSQL instance used by the application. Here we can choose freely a password for our like.
##########################
# PostgreSQL credentials #
##########################
#PGHOST=X.X.X.X
PGDATABASE=omnileads
PGUSER=omnileads
#PGPASSWORD=my_very_strong_pass
When filled the mentioned variables, we are ready to execute OMniLeadsdeployment
Note
The SUBNET=192.168.15.0/24 should ONLY be modified in case your Linuxhost LAN IP (where docker-engine runs) does not match with this range mentioned.
Inside the folder where .env variables file resides, in which we were working we have the installation script: install.sh. This script must be executed as a root, after set every parameter on file .env previously mentioned
./install.sh
Then, from here the install process will starts and then also the application running
Important
Inside the installation steps there is the execution of the first *docker-compose that makes up the containers. Being the first execution the Docker images for every component will be downloaded now, and for that reason could be slow for up to some dozens of minutes, depending of the Internet connection speed.

Systemd - omnileads-prodenv
A partir de la isntalación se deja disponible el servicio: omnileads-prodenv.service el cual servirá para parar/levantar la aplicación. El sistema se deja configurado para que inicie automáticamente luego de cada reinicio del sistema operativo de base.
To verify the service:
systemctl status omnileads-prodenv
If everything is correct we should get the following output:

To stop the service:
systemctl stop omnileads-prodenv
To start the service
systemctl start omnileads-prodenv
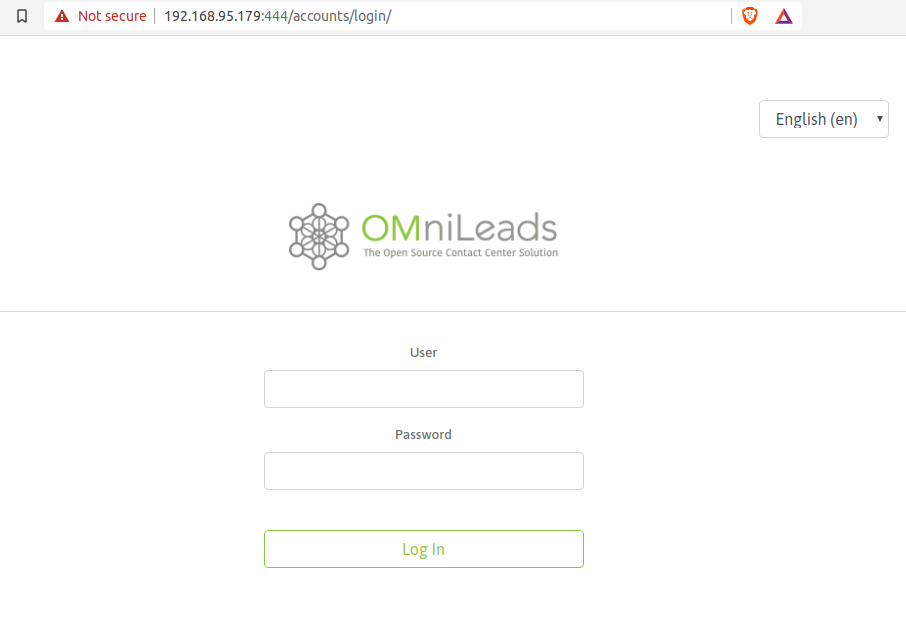
First login
To access the system and start the Initial configuration we must access from a web browser to the URL formed by the Linux host IP using https and the port 444, as shown in the figure.